Support
Article • a must readPublished • 2 years ago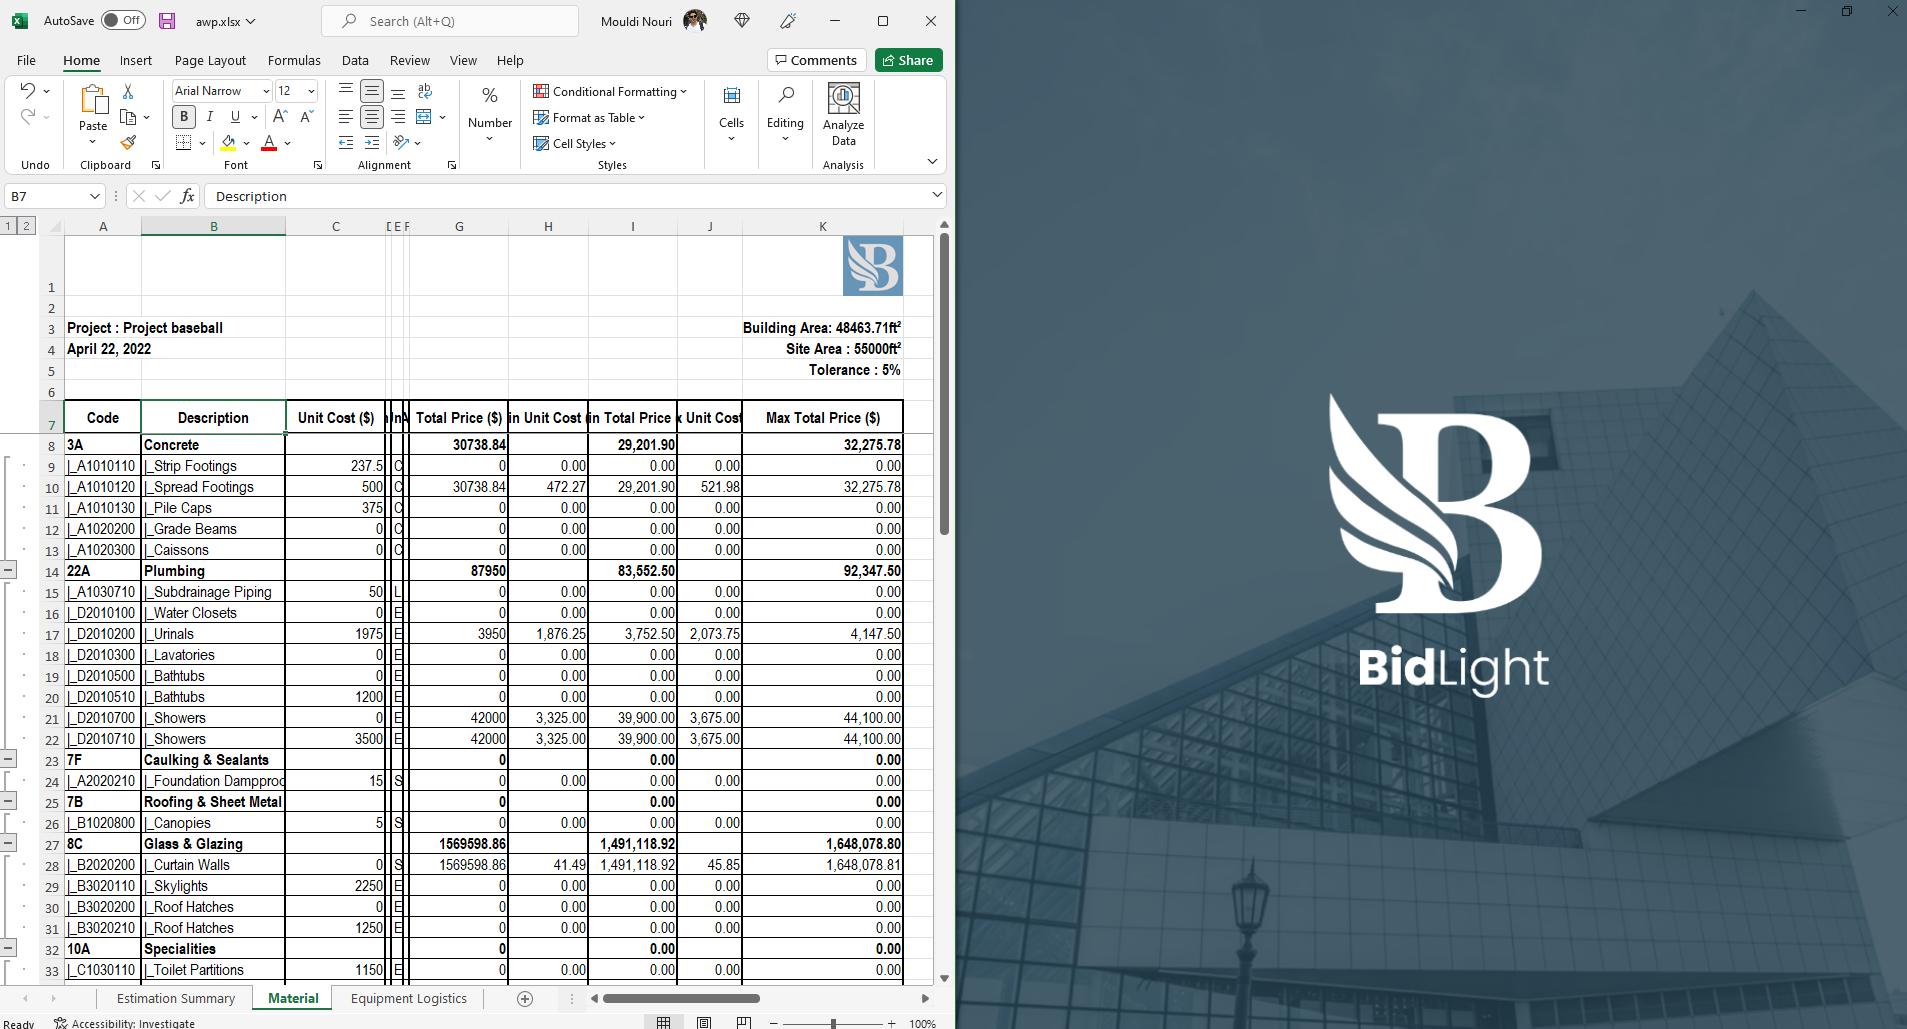
Getting started with 3D model cost estimation using BidLight within Revit
3 simple steps to estimate the cost of your 3D Model
* Assuming you downloaded BidLight successfully from https:/bidlight.com or from the Autodesk Store.
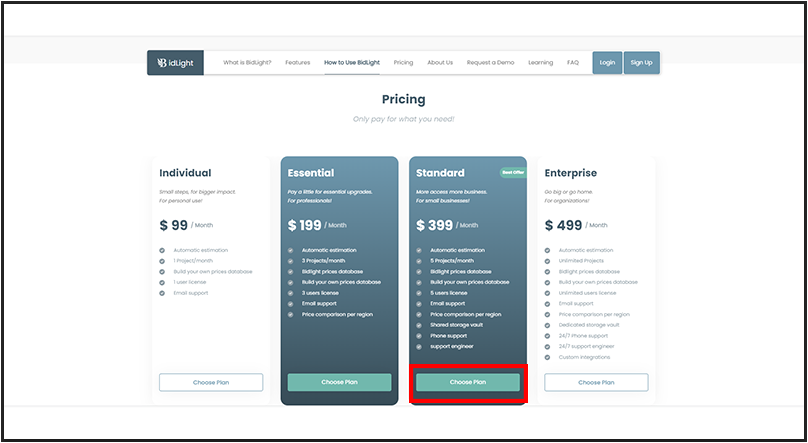
You will need to apply for a license through the landing page after picking one of the plans as follow:
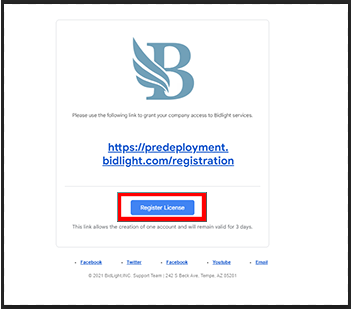
Make sure to check your inbox or spam/junk folder for a license that will look something like this:
Once done with the license phase head over to your account online at https://app.bidlight.com/authorization and login and download the software if you didn't already.
At this stage you are ready to estimate your project in 3 simple steps, will go over these steps one by one.
* Step 1 Export your project and all its linked files from Revit to BidLight.
Head over to your Revit application and look for BidLight ribbon (will only show after you install BidLight).
Should look like this image:

At this point, all you have to do is click the Blue "B" icon to export your project.
You will be presented with a login window, provide your email and password that you used for registering the license.
A page with your personal space will open up, most likely empty because you don't have any projects yet.
For the export to work you need to create a project with a name and a description, like below:
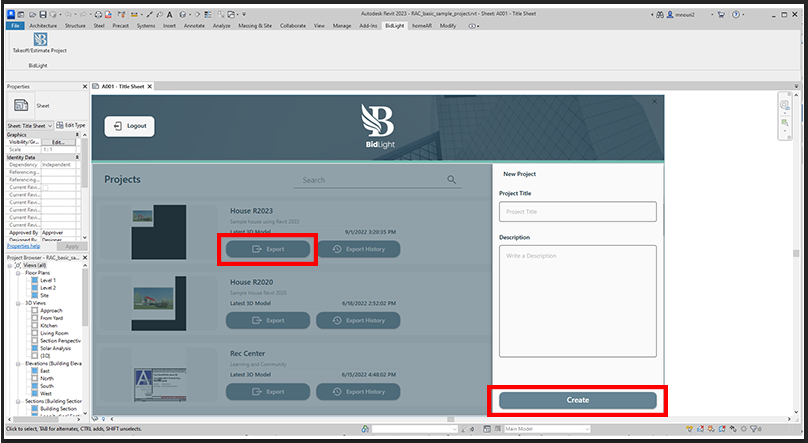
If you already have a project, and you want to estimate the changes made to the 3D model, all you have to do is click Export on the desired project, as shown above.
Next the export page will show up with the main model and any linked files (models), you can check/uncheck any linked file, if you prefer to only export specific files (models).
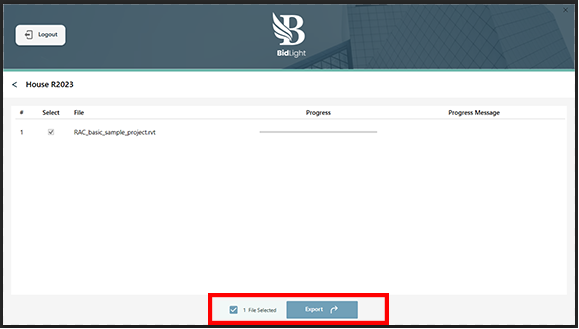
BidLight will collect all the relevant data required to estimate your project including the 3D model (geometry), once done it will prompt an estimation button and ask you if you want to estimate the project right away.
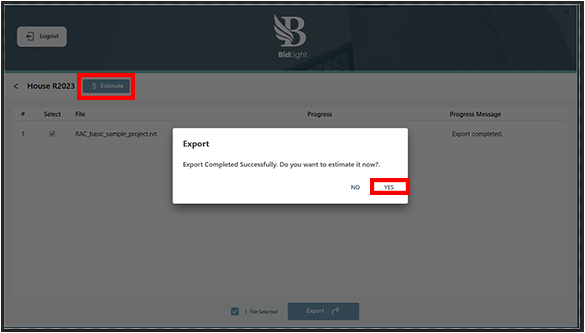
Clicking yes or Estimate will take you away from Revit to BidLight, and here Step 2 (the estimation workflow) starts
* Step 2 Estimate your project and all its linked files inside BidLight.
At this stage you have your project completely loaded inside BidLight, and your first step would be to provide the software with relevant information regarding your project, to get an accurate estimate. There is way more things to consider to get a 100% accurate estimate using BidLight, but for the sake of simplicity, we will only consider the input page information.
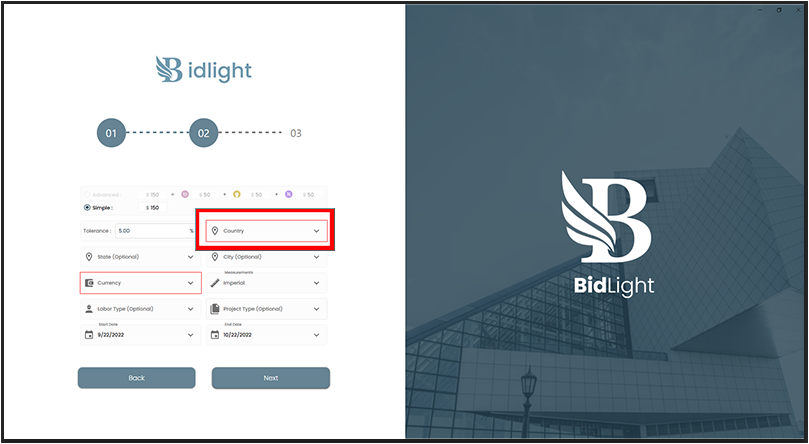
As shown above the only required field is the country in which you're building the project, but the more information you provide the more accurate the estimation gets.
Select a country and click Next.
Select a country and click Next.
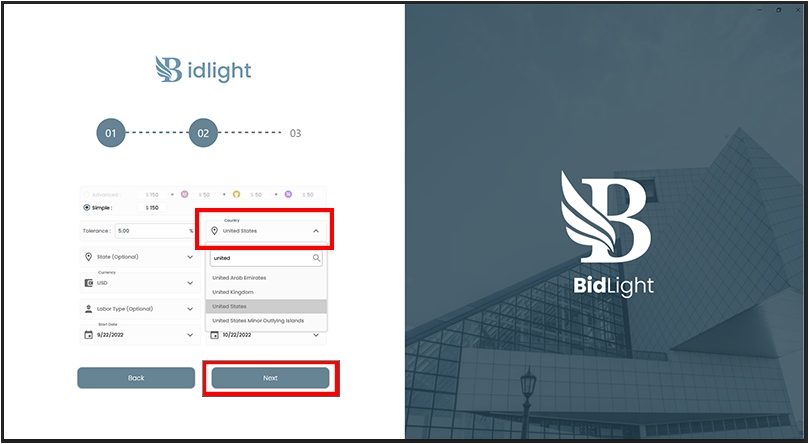
This will fire up the estimation algorithm, the algorithm will attempt to estimate every element inside the project, and will only classify the item if it has 85% confidence or more.
If some of the items for one reason or another didn't get an 85% confidence score, these items will be presented as unclassified material, which will require the manual input of the user.
For instance, if one item was not classified and you moved it to a specific catalog node (as classified material), BidLight will remember your choice next time, and will attempt to place similar items in the right category without your input.
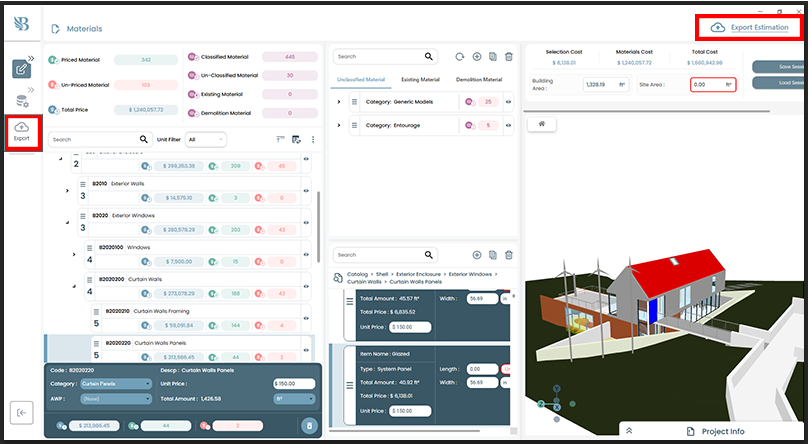
At this stage of the estimation, you get a chance to edit the prices and create, clone new items that are missing from the model, or add complete scopes. to the project.
Obviously for the sake of the simplicity of this guide, we will not go into details of what you can do inside BidLight to make your estimate more accurate and completely automated.
We will assume that we are happy with our current estimate, and we want to generate the estimate and share it with our clients/stakeholders.
To publish and finalize your estimate, you need to click on export estimate button in one of 2 locations, either on the top right corner or at the bottom of the left menu, as bellow:
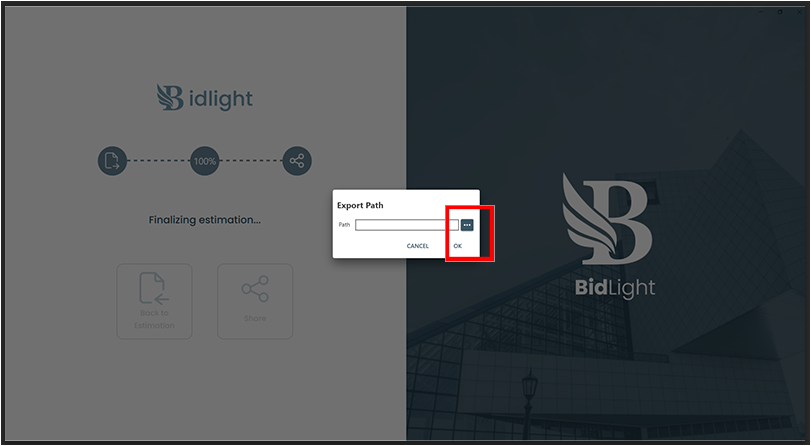
The software might prompt few warning messages if things are not 100% setup, but we can go ahead and ignore them for now.
Once the estimation is finalized, you will be prompt to provide a location on your local machine, which you can ignore by clicking cancel if you choose to.
* Step 3 Investigate, Download and share your final estimate.
Once the estimation is finalized, you will see a link that will take you directly to your dashboard online.
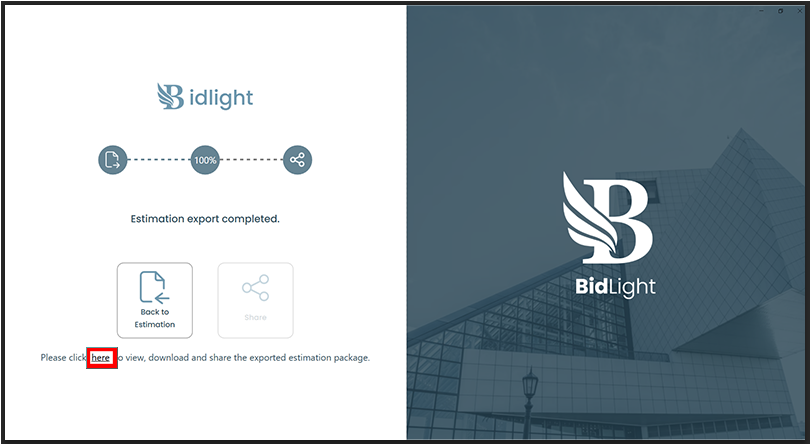
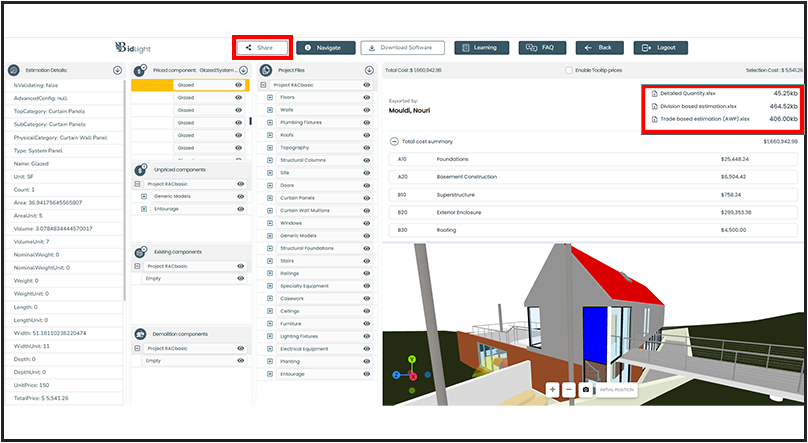
Clicking on the above link will take you the online dashboard. You will see the complete estimation, organized as priced/unpriced items.
and also you will be able to download any of the estimation files (Quantities, Estimation, or Trade Cost) and share them directly from the dashboard by just providing the email and selecting the level of access you want the user to have.
This video below details the 3rd and final process.