Bidlight Project Export For Estimation
Introduction
Project Export is a Revit plugin within the BidLight Revit suite designed to export all project data including 3D elements and their metadata and connected project information from Revit to BidLight server to facilitate automated estimation process through BidLight desktop application
Installation
After installing the BidLight Package on your device and logging in with your credentials, the plugin is ready for use.
Configuration
There is no configuration to run the plugin, it primarily relies on 3D designed elements, their metadata and the cost templates that’s included in the BidLight package or custom cost templates can be uploaded to BidLight.
Usage
Revit users can accomplish the following tasks using the Project export plugin:
Create Projects in BidLight: projects can be created through BidLight plugin for which the estimation and historical cost data if any will be saved.
Save BOQs: users can save the BOQs prior to exporting the data to BidLight.
Export Project Information: exporting BIM data is the first step to begin the estimation process using the BidLight desktop application
How to use
As previously mentioned, no configuration is required before running the plugin. To learn how to use it and achieve its goals, follow these simple steps:
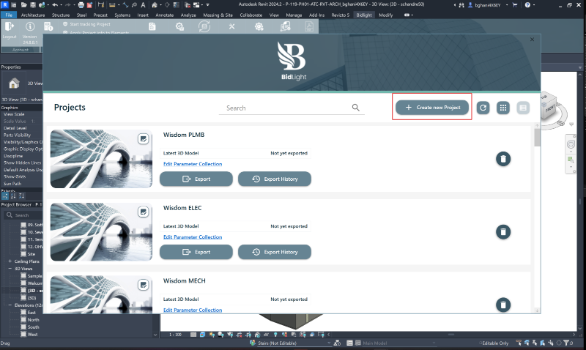
Click on ‘Project Export’ button in the plugin to bring up the projects UI.

Click on “Create New Project” .
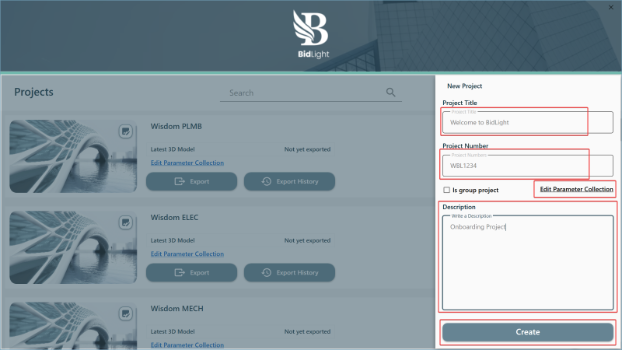
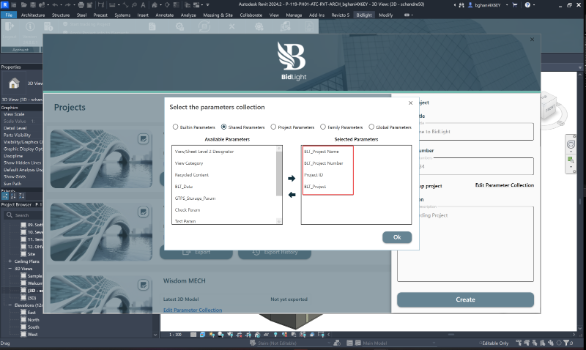
Input all the required details such as project name, project number, and description. If this is a parent project or a click on the ‘Is group project’ option. The ‘Edit Parameter Collection’ will allow you to select the Revit parameters you want to include in the export process. Click on ‘Edit Parameter Collection’ to select those parameters.
Select the required parameters and click on the arrow pointing to the right to push those parameters to the ‘Selected Parameters’ box. Click on ‘OK’ and then the ‘Create’ button to create your project.
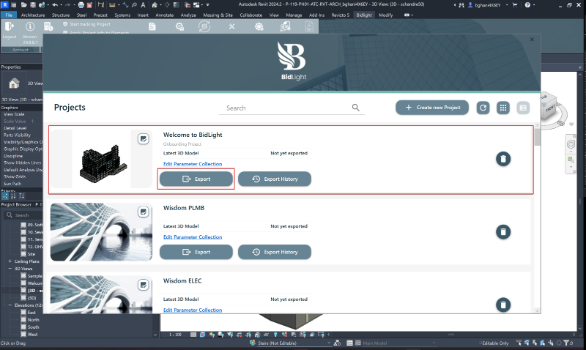
Your project is now created. Click on the ‘Export’ button to configure your export process.
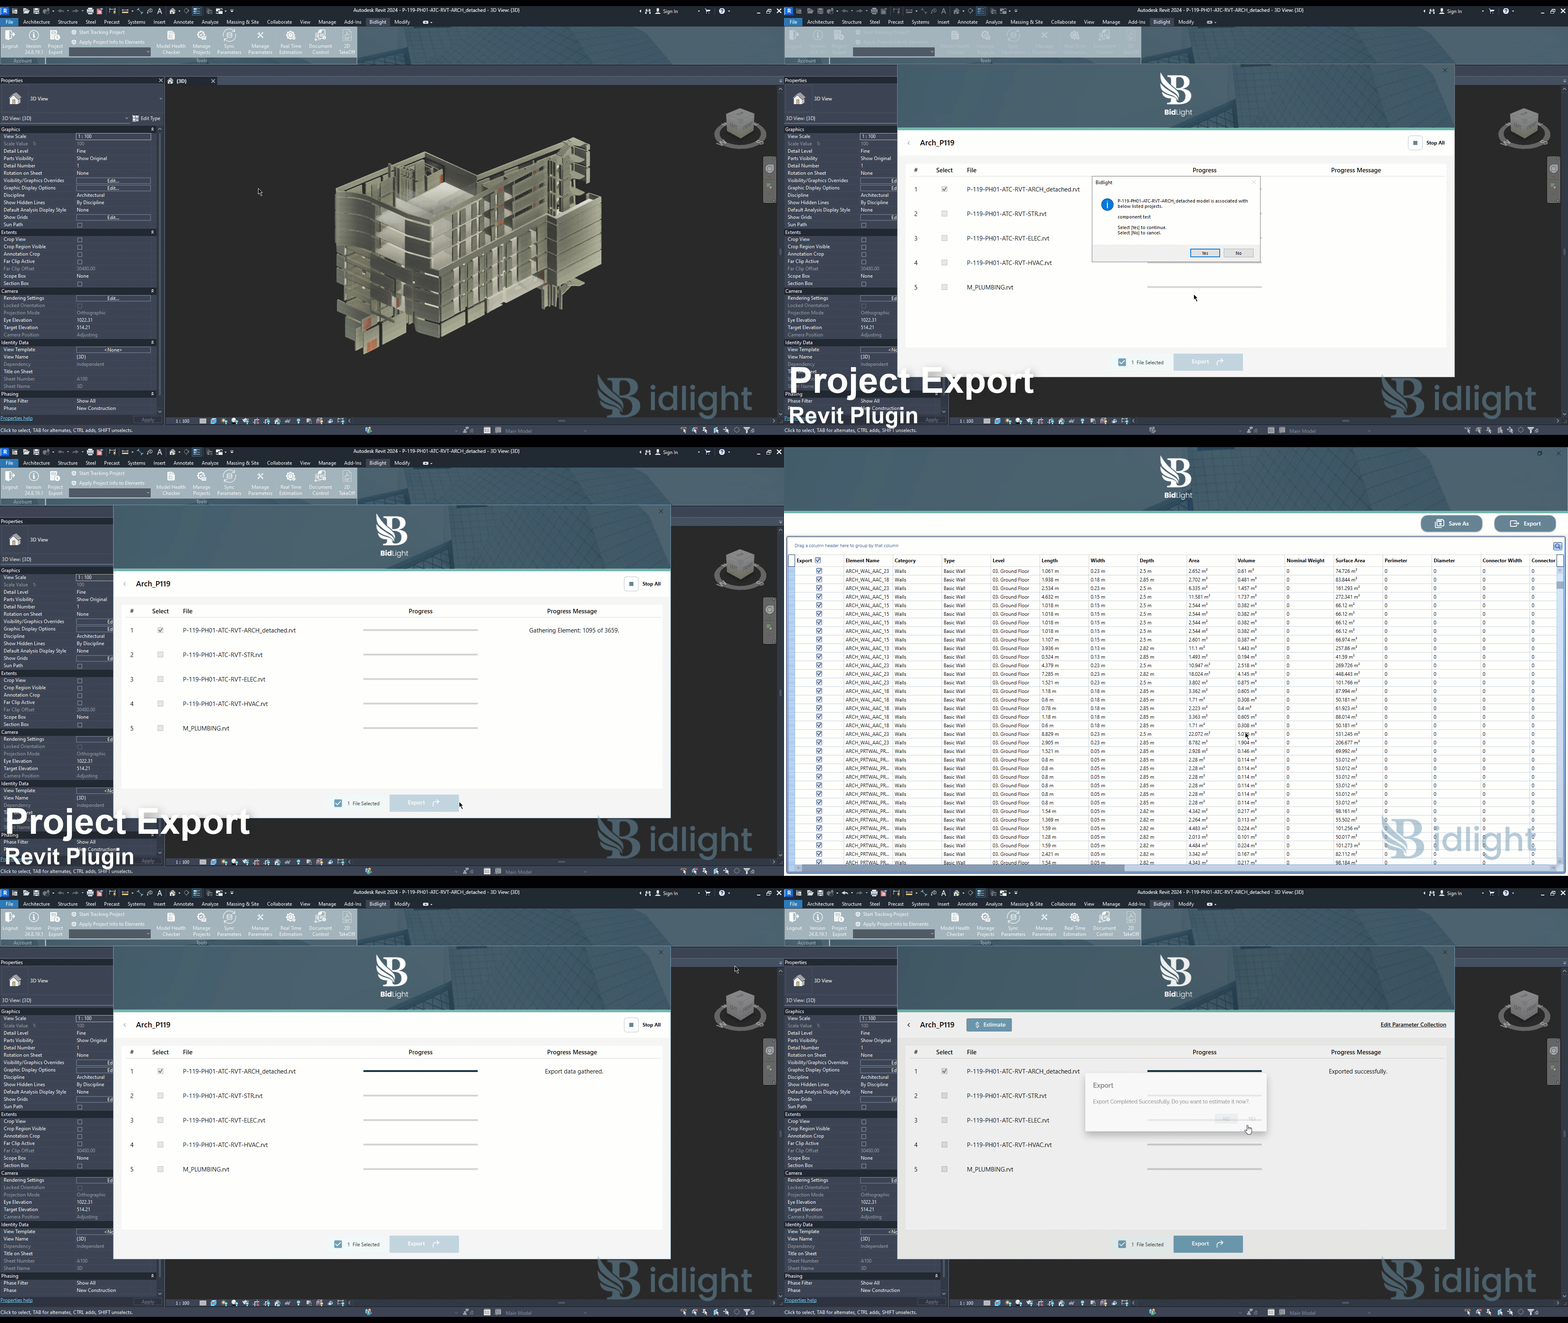
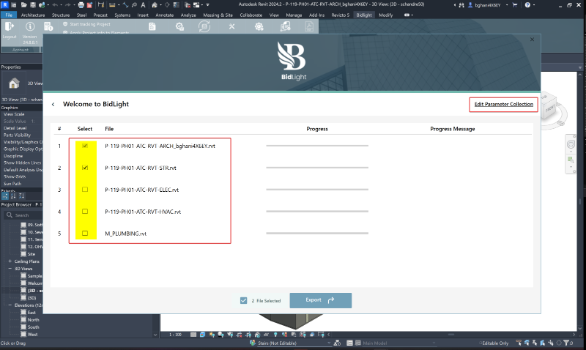
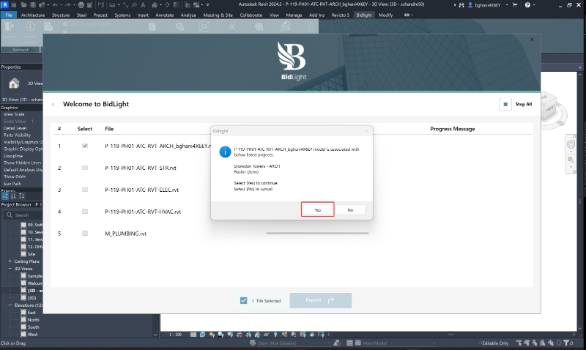
First step is to select if you would like to include linked files in your export. Accordingly select or unselect the linked files. You can also update your parameter collection in this step if required. Click ‘Export’ to move to the next step. A pop up showing the different projects associated with the Revit file being exported will be displayed for your reference. Click ‘Yes’ to Continue.
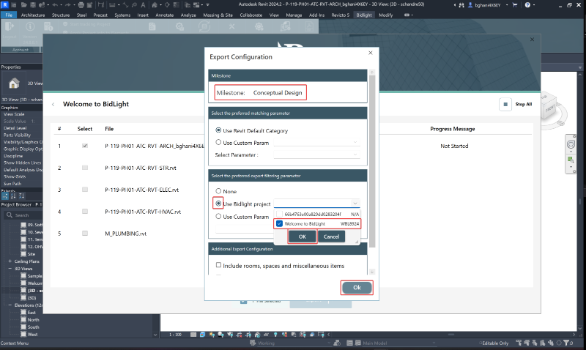
In this step the user should ensure the milestone is captured correctly, the matching parameter (parameter that is used to map with cost template) and the filtering parameter (parameter used to differentiate the BOQ for different projects) are appropriately selected. Click ‘Ok’ when done.
The export process will be initiated, and the user will be able to observe the progression of the export. Once all the data is gathered, the BOQ/BOM will be displayed to the user to verify. Once the BOQ/BOM is verified, click on ‘Export’ to complete the export process.
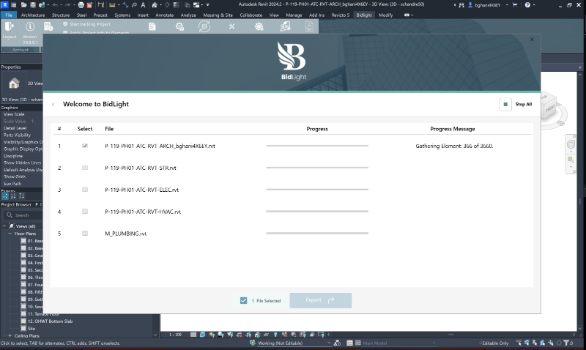
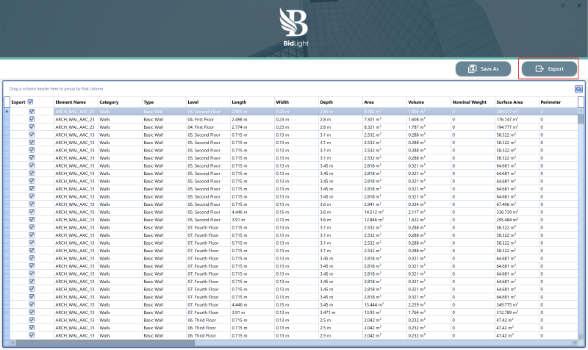
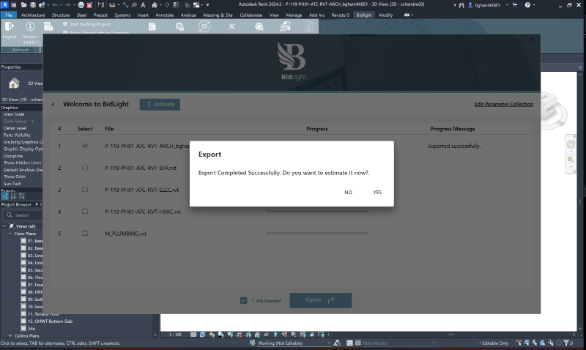
The export will progress and once exported successfully a pop-up message will prompt the user to proceed with estimation through the desktop application.
